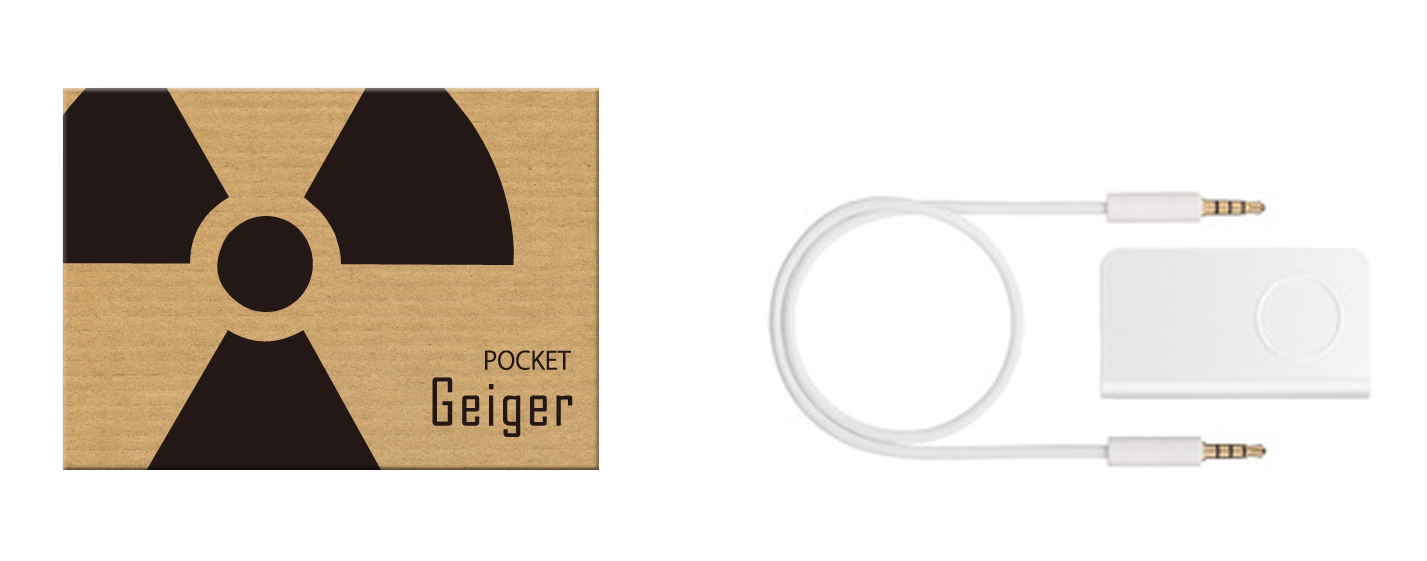
Some month ago a client of mime offered me a Geiger counter kit from the Radiation Watch project. The last few weeks I was able to play with it.

Radiation Watch is a scientific and citizen initiative born after the Fukushima Daiishi disaster and which has been funded through Kickstarter in July 2011. It aims to provide a cheap radiation detector that anyone can use, even boars.
Initially conceived to be connected to an iPhone, Radation Watch now provides an embedded version of the Pocket Geiger. Whatever version is used, the board includes a X100-7 PIN photodiode from FirstSensor for gamma-ray detection. It is thus not a proper Geiger-Müller counter.
What are these rays?
If you don’t remember well we usually classify radiations under three hats: alpha, beta and gamma rays. Alpha and beta radiation are charged particles, whereas gamma rays are photons of electromagnetic energy, with no charge and mass. They are all three considered ionizing radiation - which means they can alter the matter they go through -, but have very different penetrating and ionizing abilities due to their respective mass, size and nature.
Alpha and beta radiation can be stopped by an aluminum foil: if you don’t play with radioactive sources or ingest contaminated substances you hopefully won’t be exposed to significant level of alpha and beta rays, except maybe from the radon in your house. This contrasts with the very high frequency electromagnetic nature of gamma rays, giving them a super high ability to pass through matter: imagine your Wifi on steroids, with a frequency of above 10 exahertz and an energy more than 100,000,000 times greater. Yes, it can cooks your DNA like your microwave boils your Chinese noodles.
When you consider background radiation monitoring, detecting only gamma rays gives you a sensible indication of your exposition to radiation, from both natural and artificial sources. If it will fail to detect the contamination of your food or water, it will help you determine the environment radiation level and its changes over time. Cosmic rays are chasing your computer? Doubtful steam comes out of the house of your maybe-too-genius neighbor? You’ll have a chance to really know.
Speaking of ionizing radiation and its effect on human body, we use the sievert unit to quantify a dose. One sievert is bad enough to significantly increases chances of cancer (see this great dose chart). Since we don’t usually absorb high-level dose in a one shot manner, we associates the unit with a time dimension when we do background measurements: e.g. uSv/h, for the amount of ionizing radiation you will received staying at a place for one hour.
How to catch them?
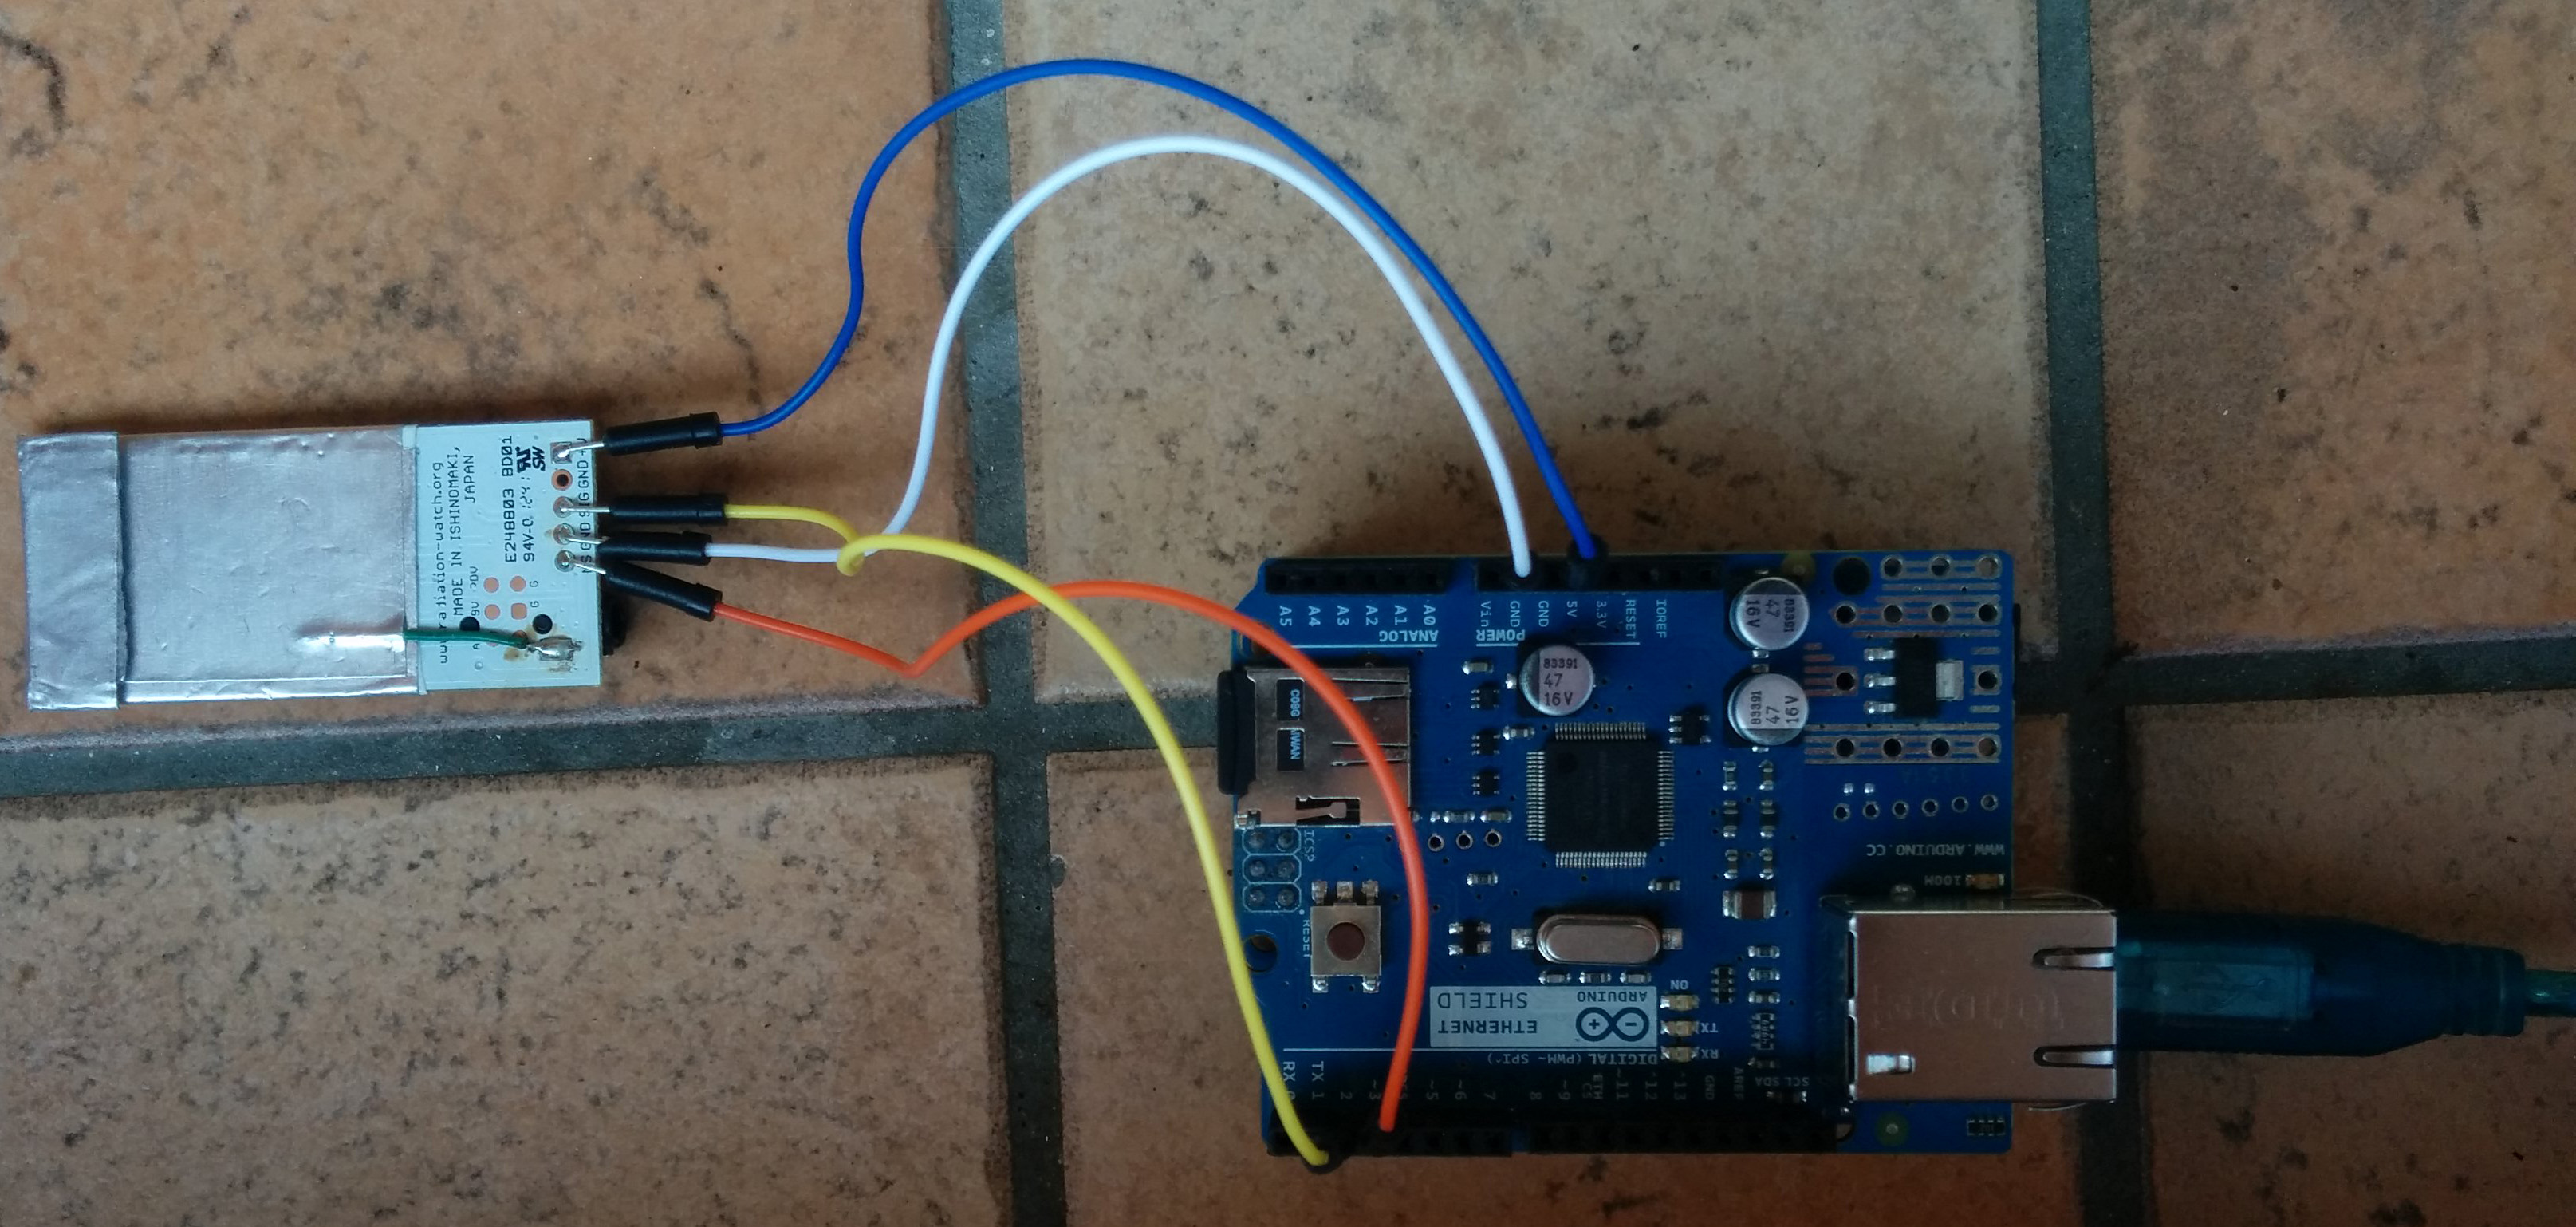
Ok, enough radioactivity blabla, place to electronic and code. The Pocket Geiger board comes with four pins: two are for the usual alimentation stuff (+V, GND) and the two others for the signals (SIG, NS). When the sensor is hit by a radiation, it will simply pull the radiation pin (SIG) to an high voltage level for some microseconds. But as the photodiode sensor is sensible to vibrations, Radiation Watch also included an accelerometer so we can get notice of them through the noise pin (NS) and dismiss the corresponding false-positives.

When your Pocket Geiger is wired, you’ll need an Arduino firmware to do something with it. Radiation Watch provides sample code to log measurements through the Arduino serial port. To ease integration with other software Thomas Weisbach has released a library. I’ve followed the Toumal work to make things even better and provides a library with cleaned code, reduced memory footprint and documented examples, so you can start rapidly hacking your things.
The library is available on GitHub and released under the MIT license. It comes with a handy Python script to plot the radiation dose in real-time from your serial port, or with a sample sketch for logging data on an SD card thanks to the Ethernet shield.
To use it, you need to create a Radiation Watch object with the pin and matching IRQ numbers to which are connected your Pocket Geiger:
RadiationWatch radiationWatch(signPin, noisePin, signIrq, noiseIrq);This object must be initialized at the Arduino setup phase with RadiationWatch::setup(). In your program main loop you also need to run the RadiationWatch::loop() frequently in order to compute the statistics.
Then you can get the radiation level whenever you need using RadiationWatch::uSvh(), with the current incertitude specified by RadiationWatch::uSvhError(). You can also register callbacks that will be called in case of radiation or vibration occurrence, with respectively RadiationWatch::registerRadiationCallback() and RadiationWatch::registerNoiseCallback().
Complete examples can be found here.
Gotta catch ‘em all!
Finally all this is good, but for one purpose: measuring the background radiation level. Let’s see what kind of data we can get from it.
I’ve first done background radiation measurement at the first floor of a house in Colombes, near Paris:
Surprisingly I was able to measure radiation being in a moving train. I expected the vibrations to skew entirely the results, but it wasn’t the case. The accelerometer wasn’t triggering the noise detection pin and the measured values are sensible ones:
In my family house, somewhere in the south-west countryside, we’re a little more exposed, but still way not enough to turn Hulk.
Since I don’t have any radioactive source (for the happy folks living in USA, you can freely buy and possess little ones) nor the time to go in the volcanic parts of France, I’ve gone to my local nuclear power plant, as a last attempt to measure something interesting. But outside an undamaged containment building and at a view-distance from the plant, that’s not very exciting.
You have maybe noticed the Pocket Geiger is not accurate enough to give instant results: it need at least two minutes to reduce the error incertitude and stabilize the readings. You can spot this on the graphs: the first results are highly dispersed, with a great incertitude range.
Since this device seems good for background monitoring, I’ll connect it to my Raspberry Pi so we can plot the data online in real-time. Stay tuned.
Edit March 14th, 2016: The second part is now out!
Thanks to Nicolas C. for reading drafts of this, to Thomas Weisbach for having managed the license issue and to Nicolas Michaux for giving me the idea. Also props to Grégoire Martinache to spot the typos no other can see. ;-)
